
Workflow - 8 min read
How to Remove a Background and Check the Result
A practical browser workflow for creating a transparent PNG, with measured examples showing which edges still need review.
Published: 2026-05-12 - Updated: 2026-07-22
Written and reviewed by QuickBGCut Lab
Guidance is checked against the current browser pipeline and the published test set. See the test methodology and known limitations.
Updated July 22, 2026 to replace generic advice with measured lab references and explicit evidence limits.
Key takeaways
- •Start with the sharpest source file and keep the whole subject inside the frame.
- •Download PNG when transparency must be preserved.
- •Judge the cutout on its final background, not only on a checkerboard preview.
Published evidence
Inspection points used in this guide
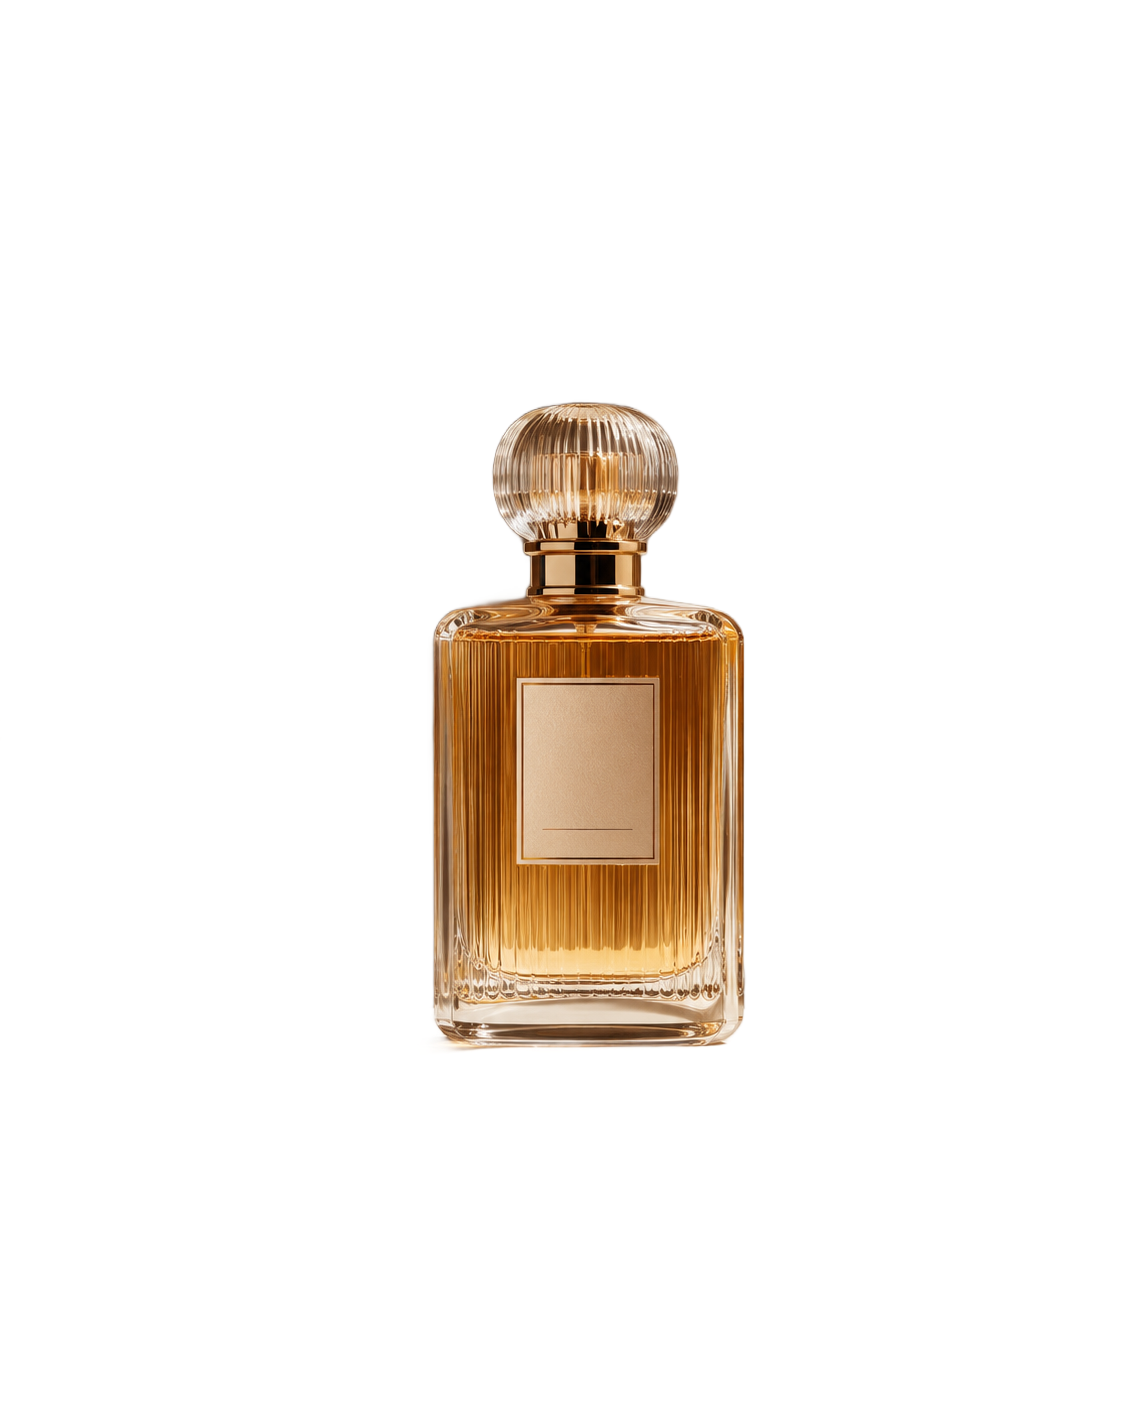
Amber glass bottle · Product silhouette
Left outline is mostly continuous
The silhouette is readable at catalog size. A thin warm fringe is visible when the PNG is enlarged.
Open source measurements and full-size result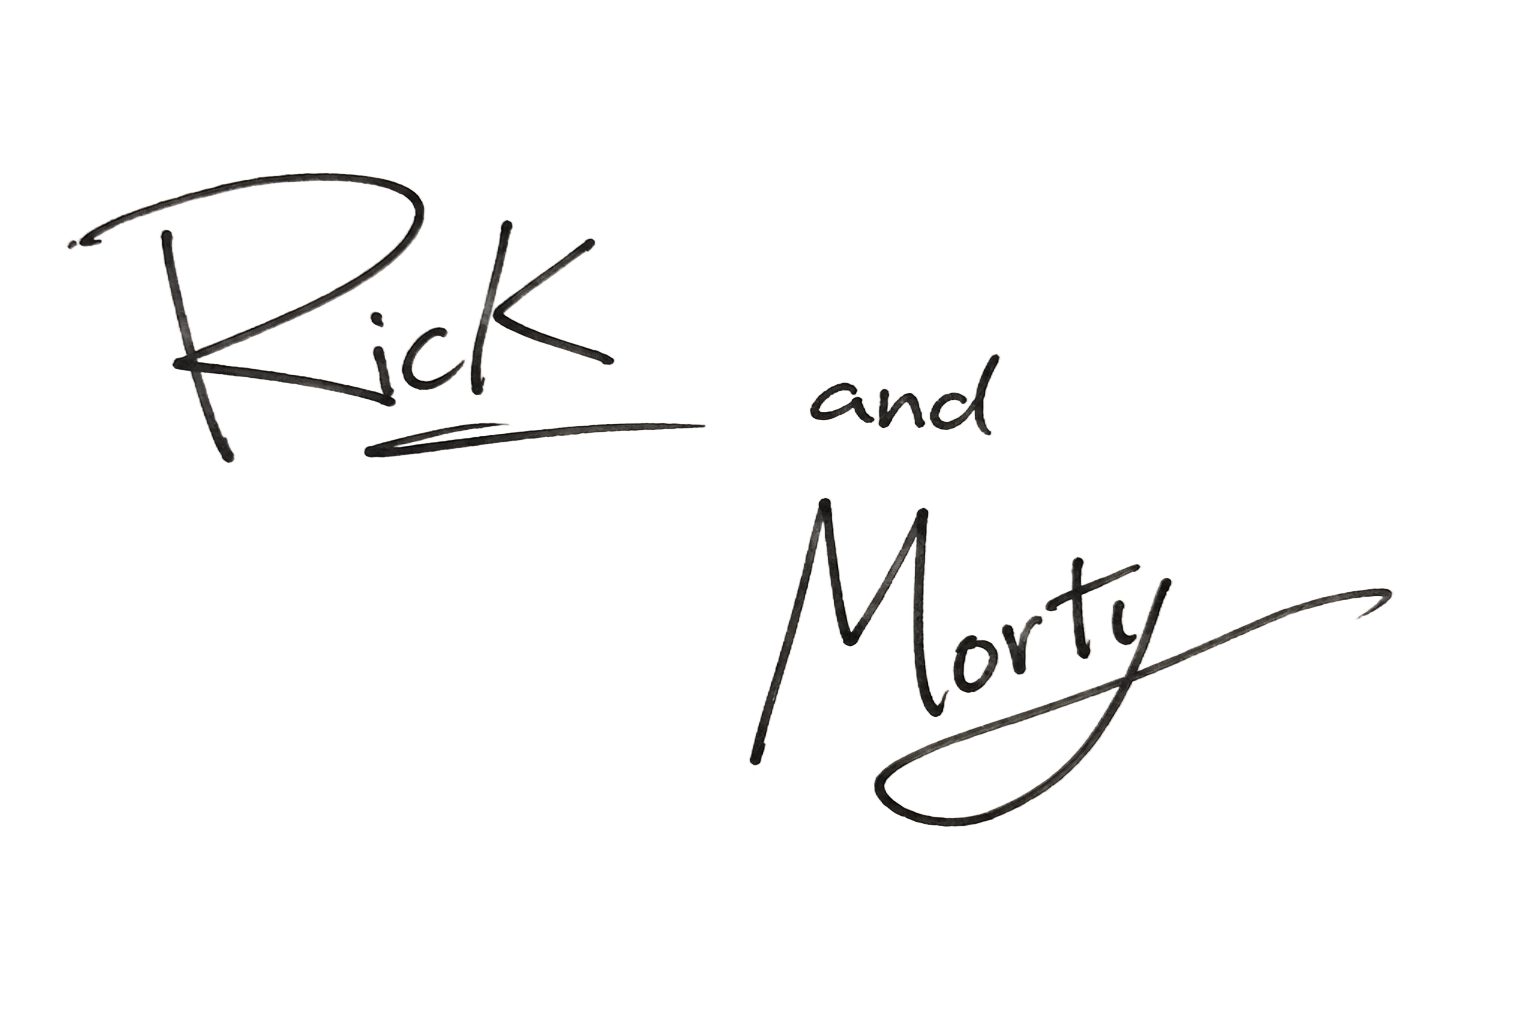
Ink signature on paper · Fine strokes and text
Final flourish is preserved
The full flourish remains visible without a paper rectangle, making the output usable for ordinary document overlays.
Open source measurements and full-size result
Portrait with loose hair · Low contrast and shadows
White shirt edge keeps colored contamination
Yellow and blue pixels remain along parts of the fabric boundary. A white destination background hides more of this defect than a dark one.
Open source measurements and full-size resultChoose a source the model can read
Background removal begins with boundary information. A sharp source with visible contrast gives the model more evidence than a compressed screenshot, a motion-blurred photo, or a subject photographed against a similar color. Leave margin around the subject so small edges are not cut off before processing begins.
This does not mean a plain studio background is mandatory. The bottle in our lab has a detailed scene behind transparent glass, and the portrait was photographed against sky, foam, and sand. Both can be processed, but they demonstrate why source complexity changes the amount of cleanup required afterward.
- •Use the original camera or design file when it is available.
- •Avoid cropping through hair, handles, shadows, or thin strokes.
- •Keep the source file so a failed edge can be processed again.
Run one representative image first
Add a JPG, PNG, or WebP file to QuickBGCut and process it in the browser. The first run also prepares the model, so it can take longer than later files in the same tab. In our July 22 run on an Apple M3 Pro, the first product image completed after 16.3 seconds and the whole four-image batch completed after 31.4 seconds. Those numbers describe one device, not a speed guarantee.
When processing a larger batch, test one file that contains the same lighting, camera angle, and background as the rest. If that representative file loses an important edge, changing the source setup is usually more useful than repeating the same export twenty times.
Inspect the result at the size people will see
The bottle silhouette is readable at catalog size, yet the enlarged lower edge shows warm fringe pixels. The signature keeps its final flourish and works for an ordinary document overlay. The portrait retains colored contamination around the white shirt. These outcomes are all technically successful PNG exports, but they are not equally ready for publication.
Preview the PNG on white, black, gray, and the actual brand color. Zoom in for a hero image, then zoom out to the real avatar, product-card, or document size. A small defect may be irrelevant in an icon and unacceptable in a large banner.
Keep a transparent master
PNG is the safest master format for these results because it preserves the alpha channel. JPG cannot store transparency. WebP can, but PNG remains easier to move between document editors, marketplaces, and design tools.
Keep the full-resolution PNG and create smaller derivatives from it. This avoids repeating the cutout whenever a platform needs a different crop or background. Store signatures, portraits, and unpublished products carefully even when the background removal itself happens locally.
Related tools
More guides
Troubleshooting - 8 min read
White Edge and Halo Diagnosis After Background Removal
Use real bottle, signature, and logo results to identify pale fringes and decide whether to reshoot, retry, or retouch.
Failure analysis - 9 min read
Why Background Removal Fails on Hair, Glass, and Shadows
A failure analysis using 12 documented inspection points from QuickBGCut's portrait, glass, and low-contrast test files.
Privacy - 8 min read
What Local Background Removal Protects - and What It Does Not
A technical privacy guide to browser-based processing, model downloads, analytics, advertising, and safe handling after export.