
Troubleshooting - 8 min read
White Edge and Halo Diagnosis After Background Removal
Use real bottle, signature, and logo results to identify pale fringes and decide whether to reshoot, retry, or retouch.
Published: 2026-06-22 - Updated: 2026-07-22
Written and reviewed by QuickBGCut Lab
Guidance is checked against the current browser pipeline and the published test set. See the test methodology and known limitations.
Updated July 22, 2026 with linked inspection crops from the published lab dataset.
Key takeaways
- •A halo often comes from mixed edge pixels in the source, not a flat white box left behind.
- •Dark and saturated backgrounds reveal pale contamination quickly.
- •For important assets, improving the source is usually better than hiding the fringe.
Published evidence
Inspection points used in this guide
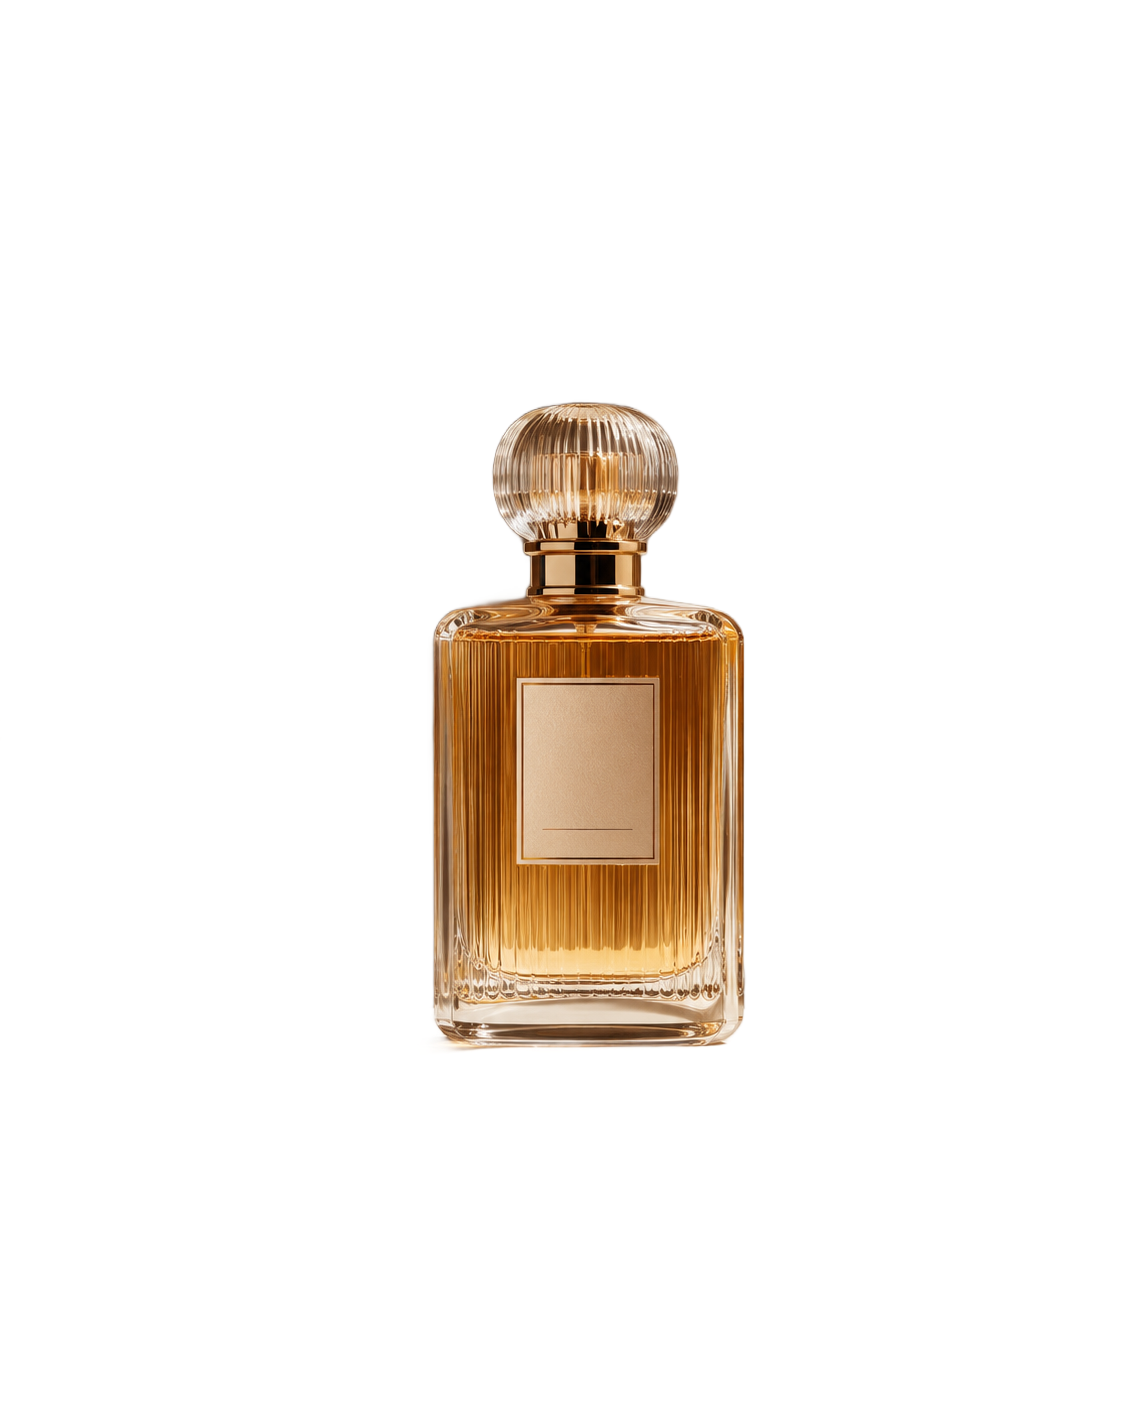
Amber glass bottle · Low contrast and shadows
Base carries a visible fringe
Bright remnants and warm pixels remain below the bottle. Large product cards need a manual cleanup pass here.
Open source measurements and full-size result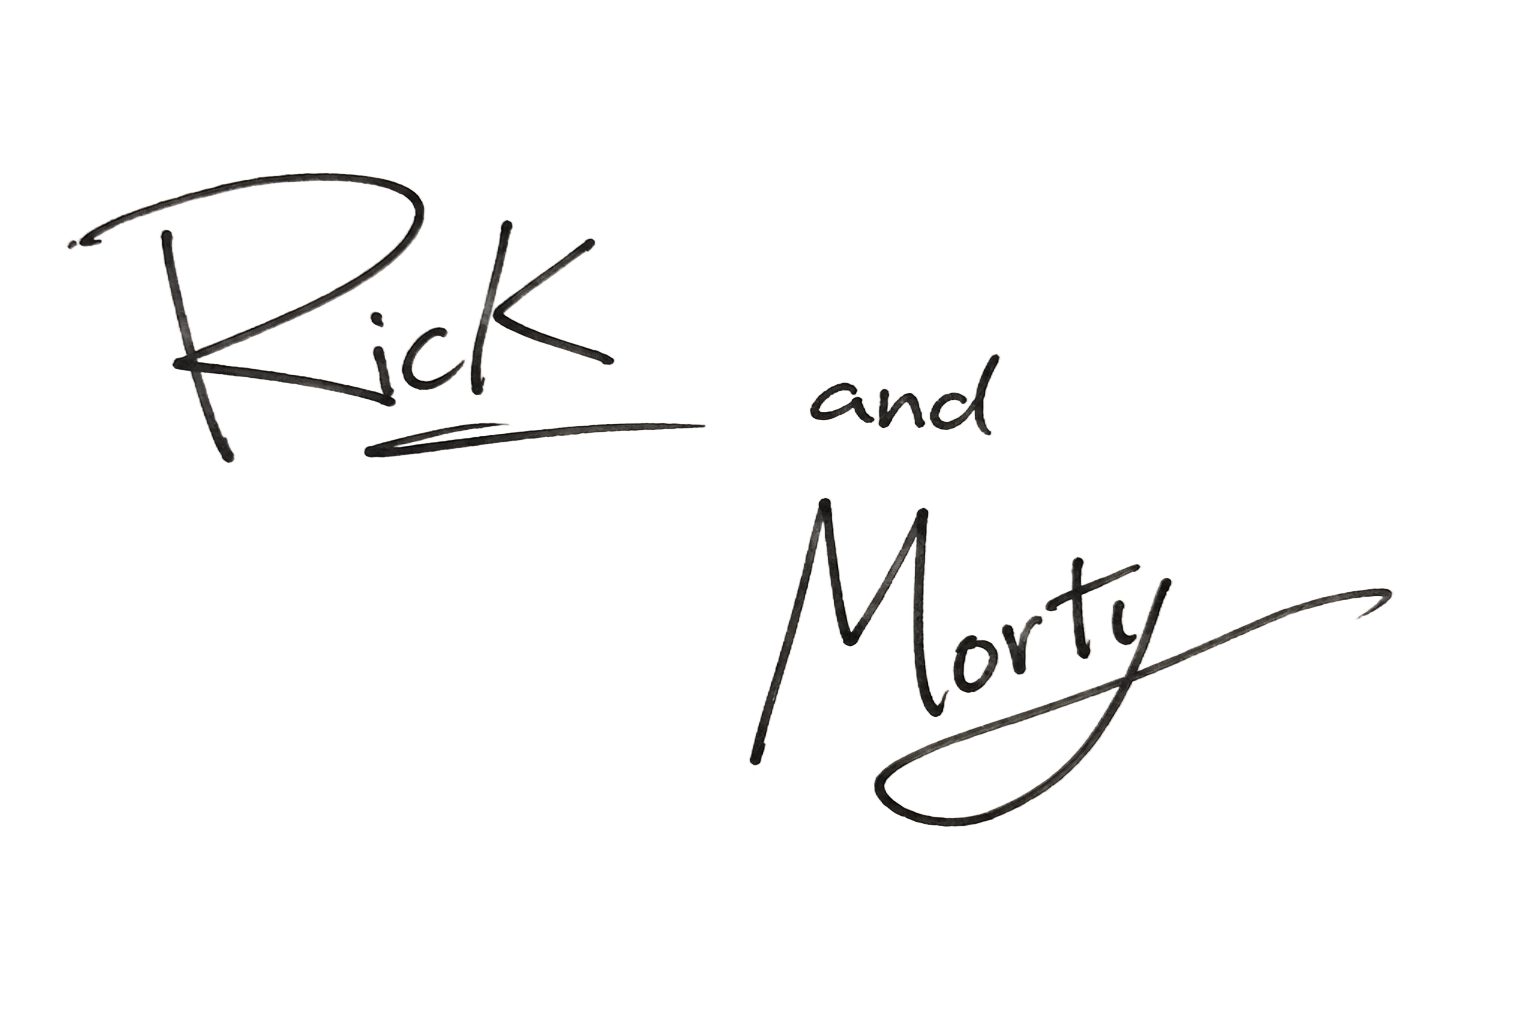
Ink signature on paper · Fine strokes and text
Opening stroke remains connected
The stroke is preserved from end to end, including its two small terminal dots, although a pale halo remains around the ink.
Open source measurements and full-size result
Light logo with small text · Low contrast and shadows
Pale icon outline stays visible
The frame survives, but white contamination remains around its soft outer edge and is obvious on black.
Open source measurements and full-size resultWhy pale fringes remain
An edge pixel often contains both subject and background. Camera antialiasing, shallow focus, motion blur, reflected light, and JPEG compression blend those colors before a background remover sees the file. Removing the background can make the remaining mixture look like a white, blue, or warm outline.
The amber bottle demonstrates reflected contamination: its lower edge contains warm and bright pixels from the original surface. The logo demonstrates low contrast: its pale blue outline began close to the source background color. The signature shows a third pattern, where paper light and thin ink overlap around the opening stroke.
Use four backgrounds as a diagnostic
Place the PNG on white, black, medium gray, and the actual destination color. White can hide a pale fringe. Black reveals it but may make useful antialiasing look harsher than it will in production. Gray helps separate those two effects.
Inspect both the whole composition and a close crop. In the lab, the bottle remains convincing at product-card size even though its base needs cleanup for a large campaign image. The decision depends on the final scale and placement, not a universal pass or fail score.
- •Check contact points below products.
- •Check pale artwork against both light and dark colors.
- •Check handwritten strokes at the intended document size.
- •Do not erase soft pixels automatically; some are useful antialiasing.
Choose between reshooting and retouching
Reshoot when the source is replaceable and the same defect will affect many files. Use a background that contrasts with the subject, reduce reflected color, avoid clipping bright edges, and keep the camera stable. This improves the information available to every later step.
Retouch when the asset is unique or the defect is local. A mask editor can remove a short fringe at the bottle base or correct the outer edge of a logo. For logos, use the original SVG, EPS, PDF, or design file whenever one exists; automated raster cleanup should be the fallback.
Document the acceptable use
A practical workflow records where an output is safe to use. The signature result is acceptable for many ordinary overlays after checking the pale outline. The light logo is not recommended as a replacement for a proper vector master. The bottle needs extra work before large-format use.
Writing down that boundary prevents the same questionable PNG from quietly moving from a small thumbnail into a high-visibility placement where its defects become obvious.
Related tools
More guides
Workflow - 8 min read
How to Remove a Background and Check the Result
A practical browser workflow for creating a transparent PNG, with measured examples showing which edges still need review.
Failure analysis - 9 min read
Why Background Removal Fails on Hair, Glass, and Shadows
A failure analysis using 12 documented inspection points from QuickBGCut's portrait, glass, and low-contrast test files.
Privacy - 8 min read
What Local Background Removal Protects - and What It Does Not
A technical privacy guide to browser-based processing, model downloads, analytics, advertising, and safe handling after export.